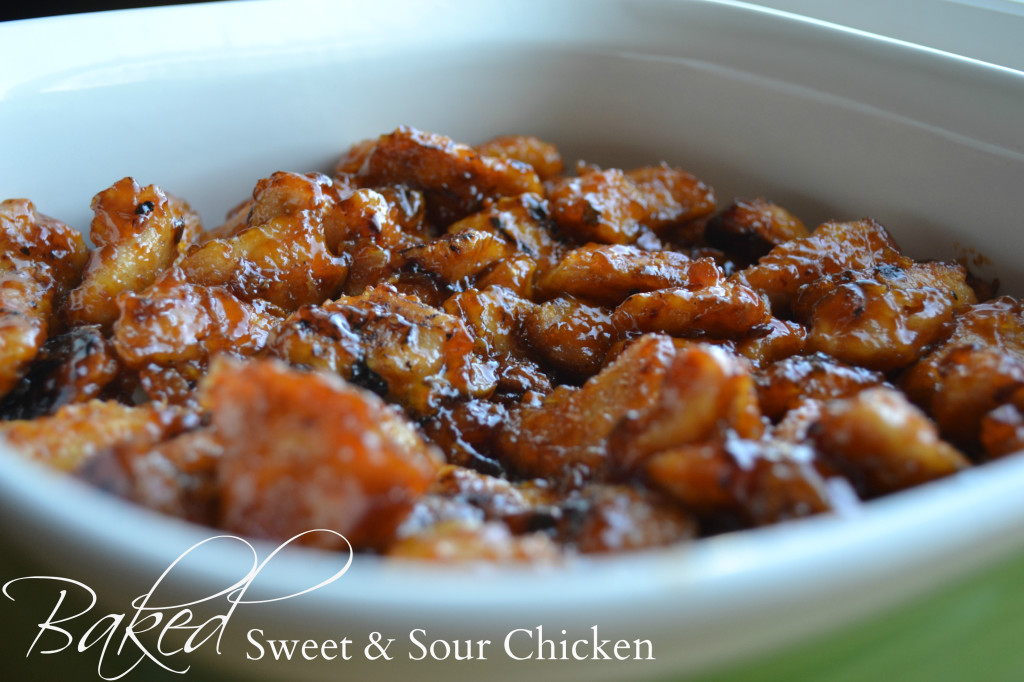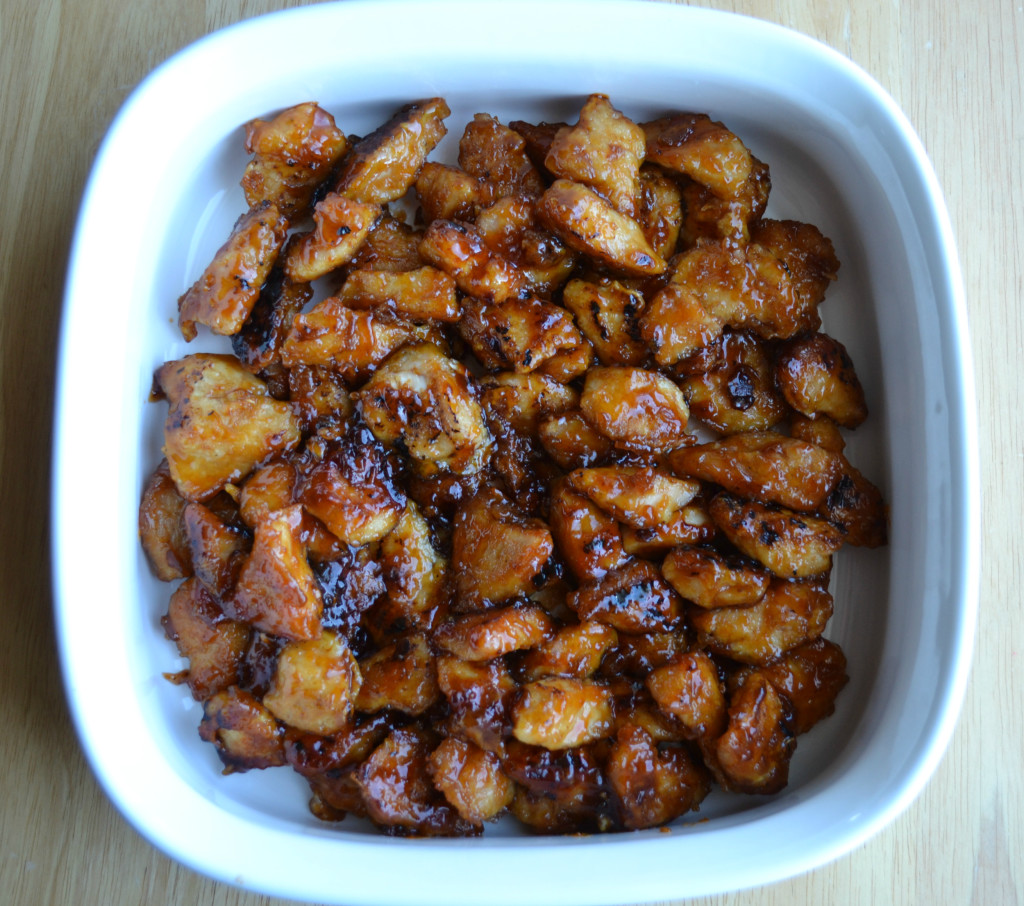
Images of Baked Sweet & Sour Chicken have been tempting me on Facebook for months! You know those posts, a delicious picture and recipe that someone shares on your status that makes you ravenous at 2:00 pm! Earlier this week I was craving chinese food in the worst way, but it was Monday and apparently on Monday you won’t find a chinese restaurant open in my city (#fail). Later in the week, I decided I’d just make my own…and you know what? It was better!
Baked Sweet and Sour Chicken
Prep time:
Cook time:
Total time:
Serves: 4-6
Ingredients
- 3-4 boneless chicken breasts
- salt + pepper
- 1 cup cornstarch
- 2 eggs, beaten
- ¼ cup canola oil
- ¾ cup sugar
- 4 tbs ketchup
- ½ cup white vinegar
- 1 tbs soy sauce
- 1 tsp garlic salt
Instructions
- Preheat your oven to 325 degrees.
- Cut chicken breasts into cubes. Season with desired amount of salt and pepper.
- Dip chicken into the cornstarch to coat then dip into the eggs.
- In a large skillet over medium high heat, cook the ¼ cup of oil and brown all the chicken (you're not cooking it here, just browning it!)
- Place the chicken in a lined 9x13 greased baking dish.
- Stir all of your sweet and sour sauce ingredients in a bowl until evenly mixed and pour evenly over the chicken.
- Bake for one hour, turning the chicken pieces every 15 minutes.
Notes
Remember you're just browning the chicken so just ensure you get a nice color on all sides and transfer to your baking dish. When mixing the chicken and sauce every 15m or so in the oven, you'll notice the closer it gets to that 1 hour mark, the more sticky delicious the sauce gets! You'll know it's ready by that point. Serve with a side of steamed or fried rice - it also makes delicious leftovers for lunch the next day!


Well I now know what I am making for dinner tonight. Thanks for the recipe!
I made this and it was a hit! It is easy and delicious.
Mmmmmm, that looks so good and easy to prep!
yummy yummy yummy
oh that looks so yummy….
That looks great!
That looks great! I’ve added it to my recipe app. Thanks!
Oh My Gosh, this looks so good! I pinned it to make! Thank you
LOVE!!! Best at work “snack” I’ve had in a long time. Thanks Tenille, one more recipe added to my collection
You’re welcome, I knew you’d appreciate it!
ooohhhhh this one is going to be a hit in my house for sure! Thank you!
I made this last night and got the best compliment from my oldest son (19yo). He told me it tasted just like the one from the Chinese restaurant we order from
Made me one happy momma!!
Thanks for sharing the recipe!
Yay!!! That’s great to hear, and I agree. We don’t have an AMAZING chinese restaurant here so this makes us happy to have!
I made this last night and OMG, it’s so good! Definitely rivals good Chinese take out!
Found this on your site a couple of days ago and I made it yesterday. We really liked it. This one is going into my recipe book to make again. Thank you for sharing.
yum! this sounds delicious
sounds like something my kids would eat
Oh my, this looks amazing…I’m always looking for new chicken slow cooker meals.
I made this tonight, it was awesome, even if I managed to get cornstarch on every kitchen surface lol
Olivia, What is your recipe app?
Oh my this looks so good, we are going to try it tonight thanks for sharing!
I am making this for supper !
Tell me what you think! It’s a little time consuming but if you make an assembly line out of it with your hubby it goes by faster!
Wow, this looks so delicious!
Looks delicious!
thanks for sharing this looks great and I am going to try this
looks delicious! definitely going to be trying this recipe out later this week
This sweet and sour chicken is fabulous looking.I was looking for something like this and am going to make this tonight with rice.Thank you for posting it! My husband is going to love it too!
I make this all the time, it has become one of our favourite recipes!
Hey Tenille
Making this again tonight. It’s become one of our favourites!
All the best,Cilon
this looks fantastic and my kids would love it too.
Sweet and sour chicken is my fave! This dish is perfect for satisfying my Chinese food cravings!
Making this today. Lost my copy. Back to get again.
Made this for the grandchildren when I was in Alberta last summer. Now they are asking their dad to make it. Came back to send him the link.
Oh that’s great to hear!